How to check for Updates on Microix Workflow Modules (All Versions)
Note: If Microix is installed on a Terminal/Citrix servers, all users should be out of Microix before you start with the update process.
Administrators can use this option to download the latest updates from Microix FTP site.
This form allow administrators to download the latest updates from Microix FTP site. Additionally, it will install any table updates or stored procedures to our Microix SQL databases.
When checking for new updates, the process should be performed at any one PC where Microix Workflow Modules Client is installed. All other workstations will be prompted to update during their the login process. The updates will run from the Microix Share folder which is located on the MIP server.
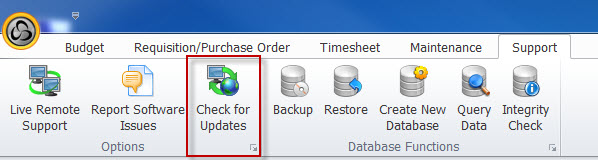
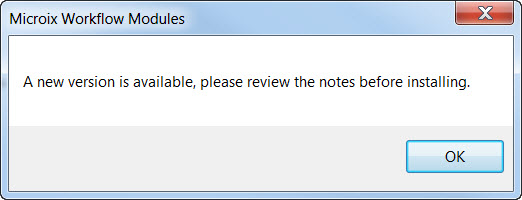
1. Navigate to the Ribbon Menu Support>Check for Updates. Click on the "Check Now" button and Microix will begin searching our FTP server for any available updates. If an update exists, a message will be displayed to the end-user.
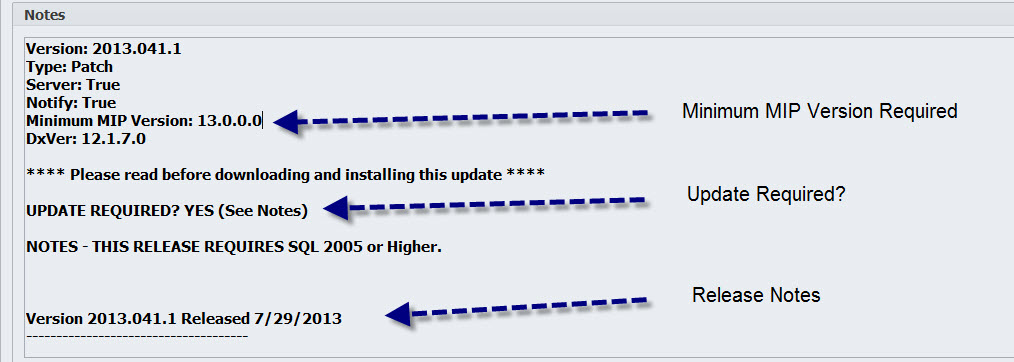
2. We strongly advise that you read the upgrade notes before applying any updates.
3. To start the upgrade process, click on the "Install Updates" button and the software will begin downloading all required files to your local server> Microix Share>autoupdate folder.
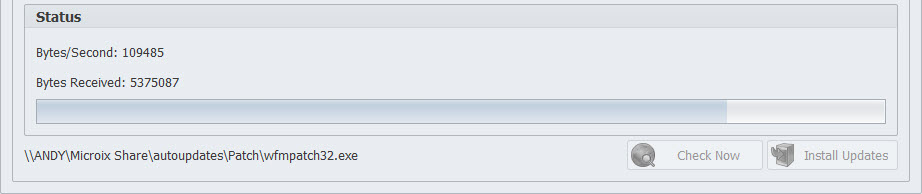
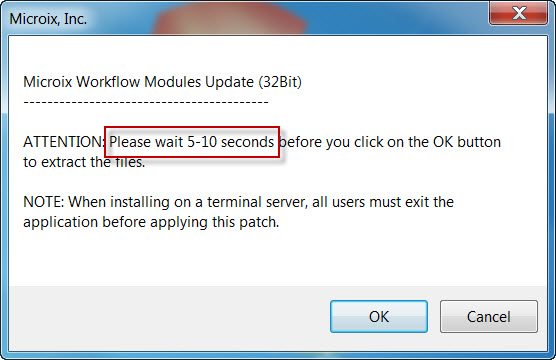
4. Once the download is completed, Microix will exit to perform the update. Make sure you wait for 5-10 seconds before you click on Ok button to the extract files and to avoid any errors.
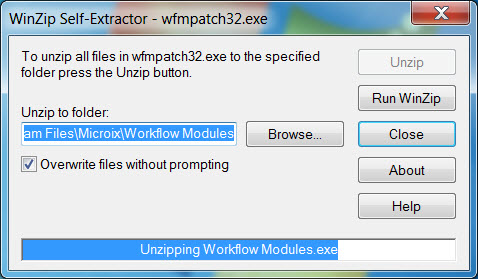
If the update does not execute automatically, you can manually install the update by navigating to \\YourMIPServer\Microix Share\autoupdates\patch\ and run the wfmpatch.exe file on the local workstation.
Follow the steps to register Microix licence.
http://www.microix.info/helpdesk/KB/View/18670-how-to-register-microix--how-to-acquire-license
After the upgrade you will find wfmpatch.msi under \\yoursqlservername\microix share\autoupdates\patch which can be used to deploy through GPO.
Deploying MSI through GPO
http://www.microix.info/helpdesk/KB/View/4394-deploying-a-msi-through-gpo
Administrators can use this option to download the latest updates from Microix FTP site.
This form allow administrators to download the latest updates from Microix FTP site. Additionally, it will install any table updates or stored procedures to our Microix SQL databases.
When checking for new updates, the process should be performed at any one PC where Microix Workflow Modules Client is installed. All other workstations will be prompted to update during their the login process. The updates will run from the Microix Share folder which is located on the MIP server.
1. Navigate to the Ribbon Menu Support>Check for Updates. Click on the "Check Now" button and Microix will begin searching our FTP server for any available updates. If an update exists, a message will be displayed to the end-user.
2. We strongly advise that you read the upgrade notes before applying any updates.
3. To start the upgrade process, click on the "Install Updates" button and the software will begin downloading all required files to your local server> Microix Share>autoupdate folder.
4. Once the download is completed, Microix will exit to perform the update. Make sure you wait for 5-10 seconds before you click on Ok button to the extract files and to avoid any errors.
If the update does not execute automatically, you can manually install the update by navigating to \\YourMIPServer\Microix Share\autoupdates\patch\ and run the wfmpatch.exe file on the local workstation.
Follow the steps to register Microix licence.
http://www.microix.info/helpdesk/KB/View/18670-how-to-register-microix--how-to-acquire-license
After the upgrade you will find wfmpatch.msi under \\yoursqlservername\microix share\autoupdates\patch which can be used to deploy through GPO.
Deploying MSI through GPO
http://www.microix.info/helpdesk/KB/View/4394-deploying-a-msi-through-gpo
1.jpg
2.jpg
3.jpg
3.jpg
4.jpg
5.jpg
5.jpg
6.jpg